Showing posts with label girls' room. Show all posts

Thursday, March 3, 2011

Busy Day Ahead

I have a pretty heavy To-Do List today. Last night I pulled a muscle in my back lifting two kids at once. I'm using that as an excuse not to go exercise today. Yesterday I came home with this,


the materials to finish trimming the girls' room. I really have to prioritize right now, so the pulled muscle helps me justify skipping the gym today. This room has GOT to get done. Tomorrow is my day to make the trek to Costco, so I really need to forget about other stuff and just seriously get to it today! So, I'm going to head to the basement and try to work my tail off, because there are a few other things on my list that I'd like to get to today...like finishing that slipcover and making cheese crackers. Several people have asked me to share the cheese cracker recipe, so look for that soon as well.

OK, here I go!

Thursday, February 24, 2011

The Eternal Project


So here's the thing about DIY. Sometimes a project takes FOR. EVER. Like building the girls' bedroom. Granted, we started almost from scratch. We built walls, put in electrical, we ran a heat run, we drywalled, we taped, we mudded, we primed, we painted, we carpeted, we redid furniture and artwork, we trimmed, and I continue to trim. The trimming is at a standstill at the moment because we need a few more materials. So in the meantime, I decided today to start filling some nail holes with putty and caulking some cracks. And now, here's the thing about caulking. It's time-consuming and a little bit messy, but I really enjoy it. It makes SUCH a huge difference. I looked around the room at the trim I had put up and I thought, "Wow. What a crappy job I did!" BUT, when you start filling in cracks, suddenly it doesn't look so crappy anymore. It gives me hope that once the caulk is all in place and the faux board and batten has all received a final coat of paint, it might not look too bad! Here's hoping!

Uncaulked


Caulked


Uncaulked


Caulked


Uncaulked/Caulked


Uncaulked


Caulked


This project began almost a year ago. My goal is to finish this room before the building permit expires on March 15th. That involves getting the rest of the trim done, finishing up the caulking and puttying, painting, putting in vent covers, trimming out the doorway and putting up a door. Wish me luck!

Monday, January 31, 2011

Sick Sick Sick

We're sick here. So very sick. So very sick of being sick. Once I'm feeling better, I'll have some good stuff to share with you. I'm working in the girls' room again. I'm so close, and yet so very far from having it done. Trim work is SOOOOOO time-consuming. The wood filler, sanding, painting part seems like it will take forever. But I haven't even gotten there yet. A little more wall trim, half the window trim,and all the crown molding still have to go up. I hope I get my energy back soon. We also have drywall to hang in the hallway.

For now, here's a sneak peak.


Monday, November 22, 2010

A Real Closet

I FINALLY got around to installing a closet system in the girls' new closet last weekend. Since I moved them in they've only had a big ugly dresser in there with an overflowing basket on top of it. Oh, and a basket for shoes on the floor. This doesn't sound as bad as it truly was, and I don't have photos for proof. But trust me, it was a mess. The stupid thing about it is that I've had a ClosetMaid rack system sitting in an unopened box in my basement since we moved here. We bought it for our last house in NC and never installed it. I've known all along that I would use it in this room, but frankly, I was a little intimidated about getting started. Turns out, it wasn't that bad, with the exception of cutting down the wire shelves to size using a hacksaw. That was not fun, but it was doable. Basically, if you can use a tape measure, a drill, and a screwdriver, and of coarse, the hacksaw, you can do this. I'd rate it in the easy to moderate category of DIY for a beginner. I'm thrilled with how it turned out, though I couldn't get a very good picture. I'm very happy with all the shelf space since the room is small and I don't want dressers in here. This gives us plenty of room to hang dresses and shirts, with room still for baskets of jammies, piles of pants, a basket of belts and such, a small set of drawers for socks, panties, and tights, a hanging organizer for school outfits, and a hanging shoe organizer. There's even room for a big basket of purses and bags.

For some reason, blogger refuses to let me add any photos to this post. What's up with that?!

Tuesday, October 12, 2010

Guess what arrived!


I scored the Land of Nod quilt I wanted on Ebay! Lincoln about fell over when I told him I paid $100, but, BUT---that's including shipping. And a pillowcase and very cute curtains made from the sheets. The quilt alone retails for about $160.


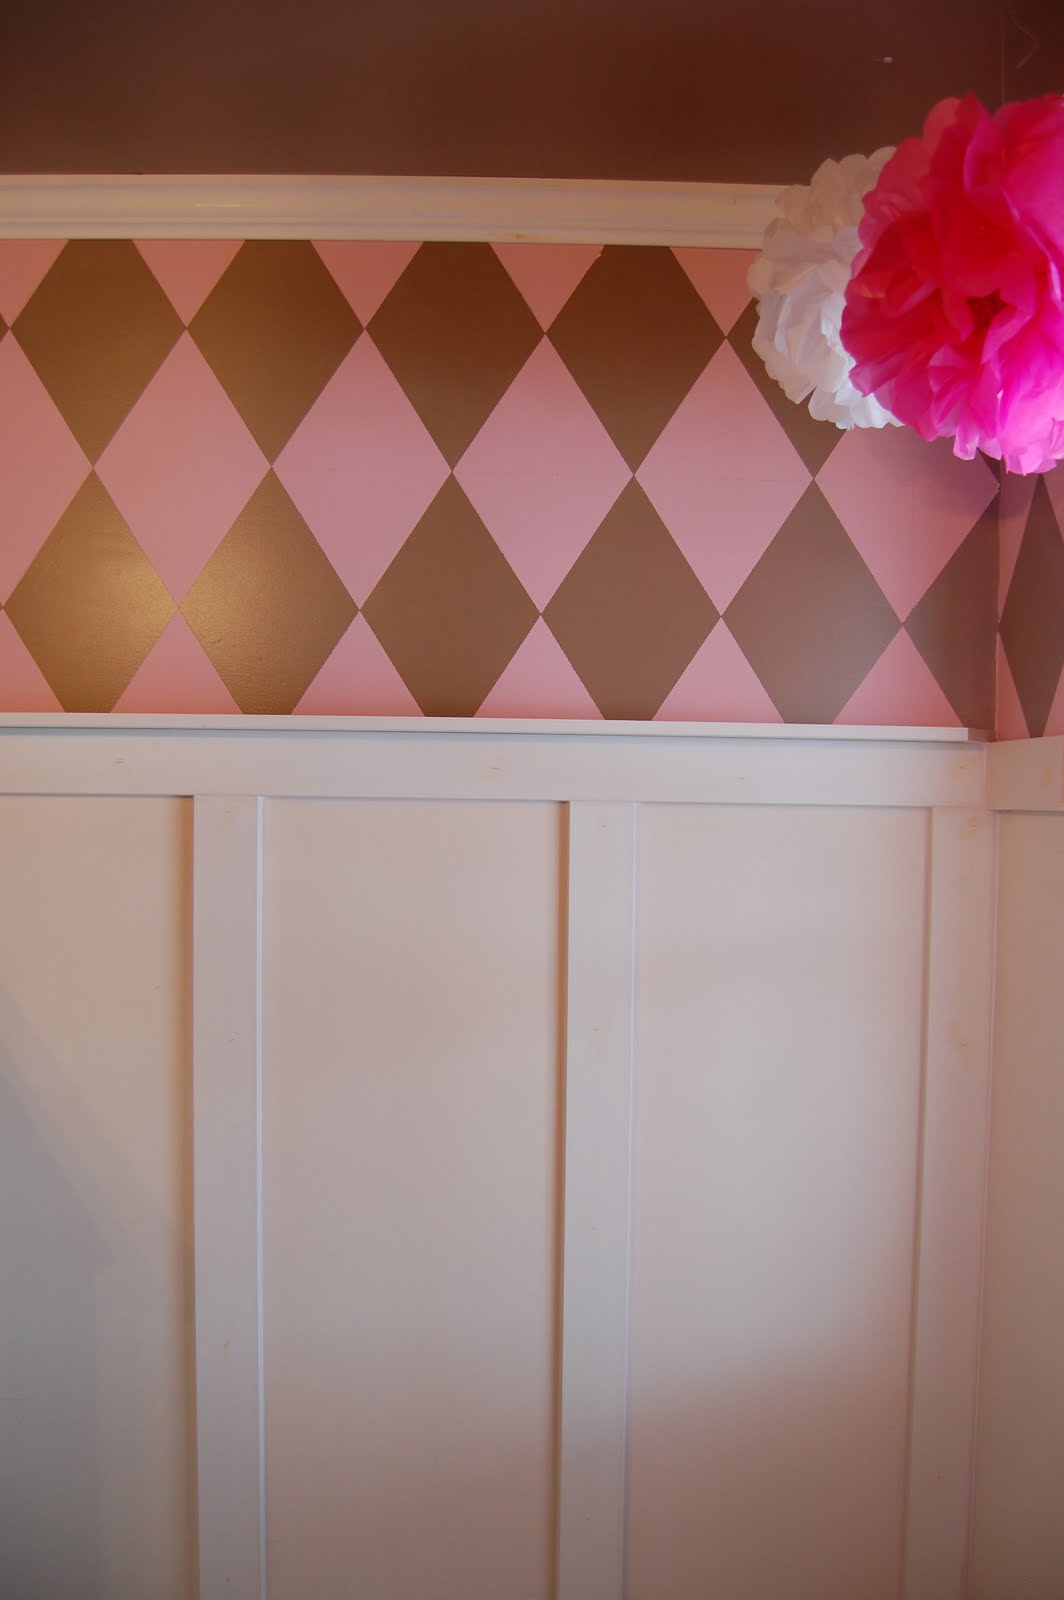
So it really was a great deal. And everything is in pristine condition. I was worried about whether I had picked the right pink for this and it is perfect. And I had hoped that the diamonds on the wall would repeat the diamonds in the quilt nicely. Success! I love it.


I'm going to put in a little plug for The Land of Nod here. A couple years ago I purchased 2 Land of Nod quilts from a seller on Craigs List.


These USED quilts have been on my boys' beds since then and have held up amazingly well. Devon has had frequent bed-wetting issues and nosebleeds, so these quilts have been washed about a bazillion times since I purchased them and they still look great.


That's why I figured even if I had to pay retail for this quilt, it would be worth it.

I'm hoping to finally get to putting in some of the trim in this room this weekend. I had kind of reached a point where I just needed a break from this room. Now that I have the quilt and the curtains, I'm excited to get moving in there again. I think I'm going to use the curtains in place of a closet door. They are really too big for the window anyway. Hopefully soon I'll have some better quality photos up and more progress to show you!

Wednesday, September 8, 2010

Bunkbeds are up...

OR

This Should Not Have Taken Half The Day...

Whichever title you prefer.

This took lots of sweat. And frustration. But they are up.


Now, I wish I had the bedding, but I think that will be a Christmas gift.


I'd like to find it on ebay or Craigs List, but if not, then I'll get it right from Land of Nod.

Julia requested that this antique lamp come with her to the new room. What do you think? Leave the original finish or paint it?


Horses are the order for this room. More plans for that, including the bedding, obviously.


Now we need to put up some walls in the hallway outside their bedroom so it doesn't feel like they are living in the unfinished basement...even though they are.

Tuesday, September 7, 2010

We're getting there...

Since Thursday I have been painting walls,


having carpet installed,


painting bunk beds,


painting a light fixture,


installing a light fixture,


trying to assemble bunk beds, running to Farm and Fleet for new hardware for bunk beds, trying to assemble bunk beds, running to Walmart for new new hardware for bunk beds, trying to assemble bunk beds, giving up up on assembling bunk beds, eating peanut M&Ms.


I still have some paint touch ups to do and all the trim and molding, shelving in the closet, etc etc, but if I can get the right stinkin' hardware for the bunk beds, we'll get the girls moved in and keep plugging away at stuff once they are settled in a bit.

Monday, August 30, 2010

Finishing Rock...

Let me share with you a few things I've learned about finishing sheetrock. If you're experienced in this area, I won't be much help. But if you're a newbie like me, this might be useful.

#1- PAPER tape is a nightmare.


FIBERGLASS MESH ADHESIVE tape is the only way to go.


Now, there may be some reason that somebody prefers the other stuff, and maybe I just don't know enough about the process to know why it would be better, but I find the mesh stuff waaaaaay better to work with. I started out with the paper tape and didn't really feel like I was struggling with it, but one seam bubbled when it dried. And when I switched to the mesh tape, it was sooo easy to handle. With the paper tape, you spread on mud, bed the tape into it, then trowel off the excess mud as you smooth the tape down into the mud. With mesh tape, you lay the tape over the seam using the adhesive side, then trowel mud over it and smooth it down. No chance of bubbles.

#2- If you don't trust me and you go ahead and use paper tape and the paper tape bubbles, it is possible to repair the damage. I had a section of tape from the ceiling to the middle of the wall that had bubbles spread along it. I had three coats of mud on the tape (the coat it was embedded in, and two coats over it.) I just took a utility knife, cut out the entire section of tape, (which was very easy), laid in mesh tape over the joint, and mudded over it.

#3- I had several screw heads that stayed too far above the surface of the drywall. I had tried to set them deeper without success and then just mudded over them. When we sanded they were exposed again. I got a new dimple bit, scraped off the mud over the head, UNscrewed them a bit, then reset them. This worked with most of them. There is one that is stripped so we can't get it in or out. I just have to build the mud up over it and sand with care. If you can't get a screw to set and it ISN'T stripped, just remove it, mud the hole, and put in a new screw a couple inches beyond it on the joint.

#4- There seem to be 2 schools of thought about this process. Some folks will tell you it's all in the sanding. Other folks will tell you it's all in the mudding. I lean more toward the mudding. There really is a fine line between too much mud and not enough. As one book said, "There's no need to trowel on 5 gallons of mud and sand off 3." However, attention to detail in sanding is also crucial. And you must be patient. I only sanded after the final coat, but then found lots of places that needed to be touched up- screw heads, low spots, furred tape or drywall paper. I REALLY wanted to be done, but I touched up and sanded again. Do this as many times as necessary to achieve the smooth finish you're looking for. You'll be glad in the long run.

#5- Lastly, for now, is invest in a corner trowel.

The book I read did not even mention corner trowels. My corners looked terrible and I was dreading how much attention they were going to need to get them looking nice. Luckily, my mother came to visit and said, "Did you use a corner trowel?" "Corner trowel!?" said I. "What pray tell is a corner trowel? It sounds divine!" I sent my dear husband out for a corner trowel then slapped a coat of mud up in the corners with that. What a huge difference! They are now like buttah.

I still have to sand again and see where I'm at. If I think of any more tips and tidbits to share, I will. Wish me luck. The carpet is supposed to be installed on Friday. I'm running out of time!

Monday, August 23, 2010

Room Progress


Oh boy oh boy oh boy. Life has been absolutely insane since my last post. What a hectic summer. Between visitors and trips and this construction project, I'm swamped. But despite the insanity, I wouldn't change a thing. Wait, that's a lie. I would gladly go back and keep my husband with me in NY during my family's work week, rather than letting him come back to work. And I would pass on two of my kids getting pneumonia. I think I would just opt out of that completely.

This past week I have been frantically trying to get Julia's room taped and mudded before she arrives home. I wanted it to be painted so it would look like some serious progress had taken place. Because she won't be able to see the hours and hours I've put into this mudding process. This evening I finally finished the skim coat on the room. Unfortunately, she arrives tomorrow afternoon, and unless the sanding goes really well, I'm afraid there will be no paint on the walls.

Just to keep things interesting, I'm also trying to refinish a bunk bed I picked up for the girls from Craig's List and a pretty little chandelier I scored at Goodwill. I have a guy coming tomorrow to measure for carpet and a door order on hold at Menard's that we discovered we have to cancel because the opening is not large enough. My vision for the paint in the room is more involved than what i can slap up tomorrow, but if i could at least get it primed I think she would be pleased.

So here are a few photos from the process. I think they were taken during coat #1.


Being a giant comes in handy when mudding the ceiling.


I need to collapse into bed, but maybe I'll put one more coat of spray paint on that chandelier first...