Monday, December 5, 2011

Rustic Christmas Tablescape


If you've been following along, you know that I had vacillated a bit between Christmas decor themes. I was leaning toward rustic anyway, but when I found two spools of this beautiful gingham wired ribbon,

this adorable willow tree,
this cutie-patootie garland,
and these nostalgic glasses
at the vintage sale here in town, my mind was made up! I've done all of my decorating with rustic and/or natural elements, with a few glittery things thrown in for sparkle. Today I want to show you the tablescape I put together so I could play along with the linky party over at The Lettered Cottage.


Keeping things casual and rustic, I used a mix up of dishes for the place settings.


I got the Christmasy plates at the vintage sale as well, but they only had 4 dinner size plates. I got a little creative by mixing them with sturdy, rustic looking dishes from Ikea. But let's start at the bottom and work up. Red, woven straw mats I got on clearance one year from Walmart, I think. Next up, chargers with natural elements around the rim. These are also from Walmart (hey, it's the only place to shop in this town!), and I usually use them for Thanksgiving, but I thought they worked nicely with this theme. Then we have the plates and bowls from Ikea and the vintage sale. The goblets are a clearance item from Walmart and the glasses, as mentioned before, are from the vintage sale. The napkin rings match the chargers, from Walmart, and the napkins are cut from the same piece of fabric that the runner is from. The fabric came from a freebie pile at church. The big lantern is from Walmart a few seasons ago, the small lanterns are from Ikea. The big lantern is sitting on a white cake pedestal from Marshalls placed inside a clearance wreath from Walmart from last season. My kids gathered the pinecones for me on the walk home from school.

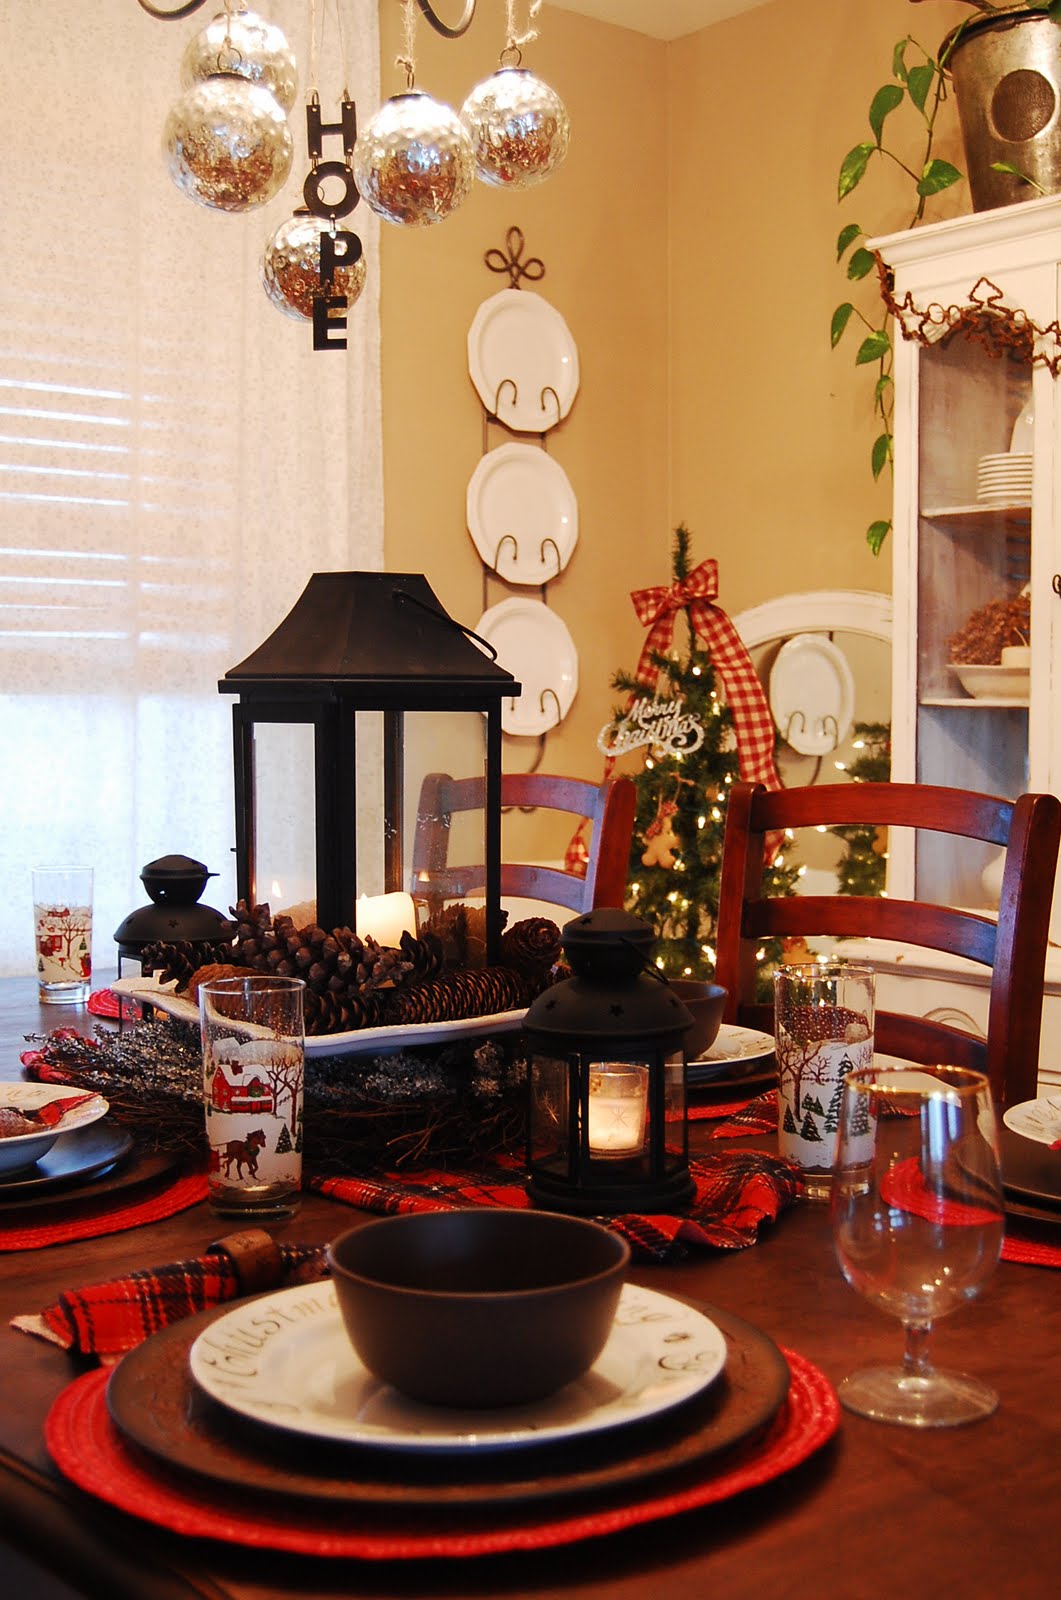


I used some of the ribbon from the vintage sale on the chain of my chandelier (a $7 fixture from the ReStore), and also hung from it some big mercury glass ornaments I've been collecting from Hobby Lobby whenever they are on sale.


It's hard to capture the feeling in a photo, but this is such a warm, inviting, cozy table setting! It really makes me want to settle in and enjoy a steaming plate of ham and scalloped potatoes with a hot, buttery roll on the side. Some sparkling cider would be perfect to wash it down. Some warm apple pie would finish it off nicely. Or maybe a big mug of hot cocoa and a slice of pumpkin pie.

Maybe it's a bad thing when your decorating makes you want to eat...

Not if it's your table, right?

More rustic decor to come.

The Lettered Cottage


Linking up to Funky Junk's SNS

Thursday, October 27, 2011

Boo!

Let's talk about the easiest Halloween decor project ever. I always have these three plates hanging on my wall. At Halloween time, I grab a dry erase black marker and draw on the word Boo. A little embellishment and three minutes later, the room has a little extra holiday spirit!


Wednesday, October 5, 2011

Halloween Mantel


I've switched over from fall to Halloween decor. I'm not feeling very energetic about coming up with or creating new decorations this year, so I'm doing the same thing I did last year. (Click on the link to read the details about the parts of the vignette.) The only big change you might notice is the paint color on the wall. This picture shows the truest representation of the color. It's called Stormy Day.


That's what I'm in the middle of now: Painting walls and trim. That might explain my lack of energy toward craft projects currently. You may also notice that my piano bench bit the dust. I loved my pretty blue bench. I may try to resurrect it. We'll see.


I've also been playing with my camera and trying to learn how to capture light more accurately and more attractively. I've just never taken the time to learn it, and am finally taking a few minutes here and there to experiment.


I'm looking forward to wrapping up some projects around here and sharing them. Here's a sneak peek at what I've been doing in the hall bathroom.


The DIY Show Off

Tuesday, September 27, 2011

Fall Mantel

Boy it seems like the seasons pass quickly these days! I can't believe we're on to fall already! I'm not complaining. It happens to be my very favorite season. I guess I've probably mentioned that before, but I can't help saying it over and over each year. I've had the autumn decorations out for a couple weeks now. My kids love fall as well, and they had been begging me to get out the decorations. I thought I'd share some of them with you today and then link up to the fall mantel party going on at The Lettered Cottage.

So let's start with the piano that serves as my mantel. Let me warn you, I'm not known for my subtlety when it comes to fall decorations. OK, here goes.


Lots and lots of nature elements. Leaves, acorns, birds, berries. LOVE.

Perhaps you can imagine my husband's reaction when I asked the neighbors if I could have their old screen door when they removed it. They were happy they didn't have to haul it off somewhere, I was happy to have a nicely weathered screen door, and my husband considered calling the casting folks at Hoarders. I really love it, though, and I think he's even coming around to it.

But the piano is not the only spot to get cozied up. The front porch is still a work in progress, but here are a few bits.

The caddy on the table was a find at a local barn sale.


The big pumpkins we grew ourselves! It was my first time growing pumpkins and I'm thrilled to have something to show for it.

The large black tool box came from the barn sale as well.


And lastly, back inside, here's my hutch. The large bread bucket was my great grandmother's. The old scale I picked up at the same barn sale last fall. The rusty metal star I picked up this year at the barn sale. It's actually a tree topper, but I loved it so much I convinced myself I could start using it now!


One last thing. You may have noticed a little stinker trying to sneak into my photos. He may be a stinker, but he's a darn cute one!


Linking up to :
The Lettered Cottage

Tuesday, September 6, 2011

Guest Room...A Work in Progress

Remember when I mentioned way back here that I was redoing Kennedy's room as a guest room? We were planning to get going on her new room in the basement and figured with company coming we might as well get her moved out of the room and get it ready for guests. Well, since then we've had my niece and her kids come for a visit, my sister came and stayed with us for a few weeks, and my parents were here for 10 days and just left this morning. So I've made some progress on the guest room, but haven't quite got the finishing touches on it yet. And now school has started back up and Kennedy's bedroom still isn't finished so she's going to have to move back into the guest room for a while.

So this is what it looked like before.


Kind of a typical tweenie type room.


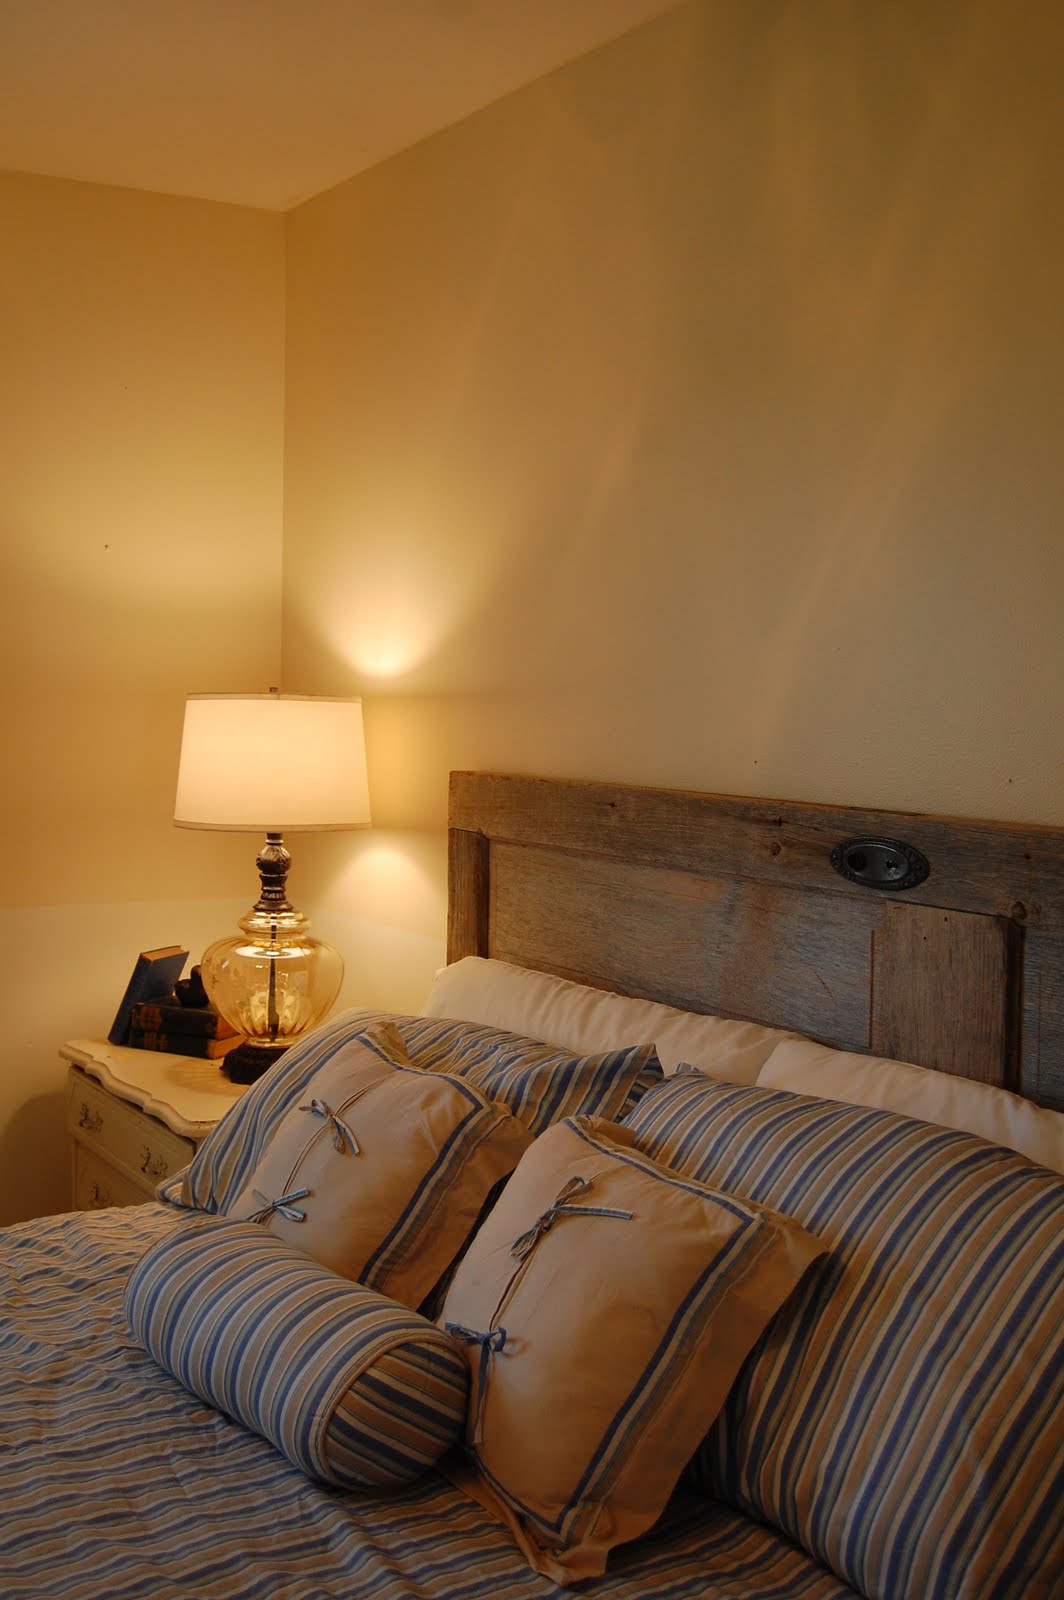
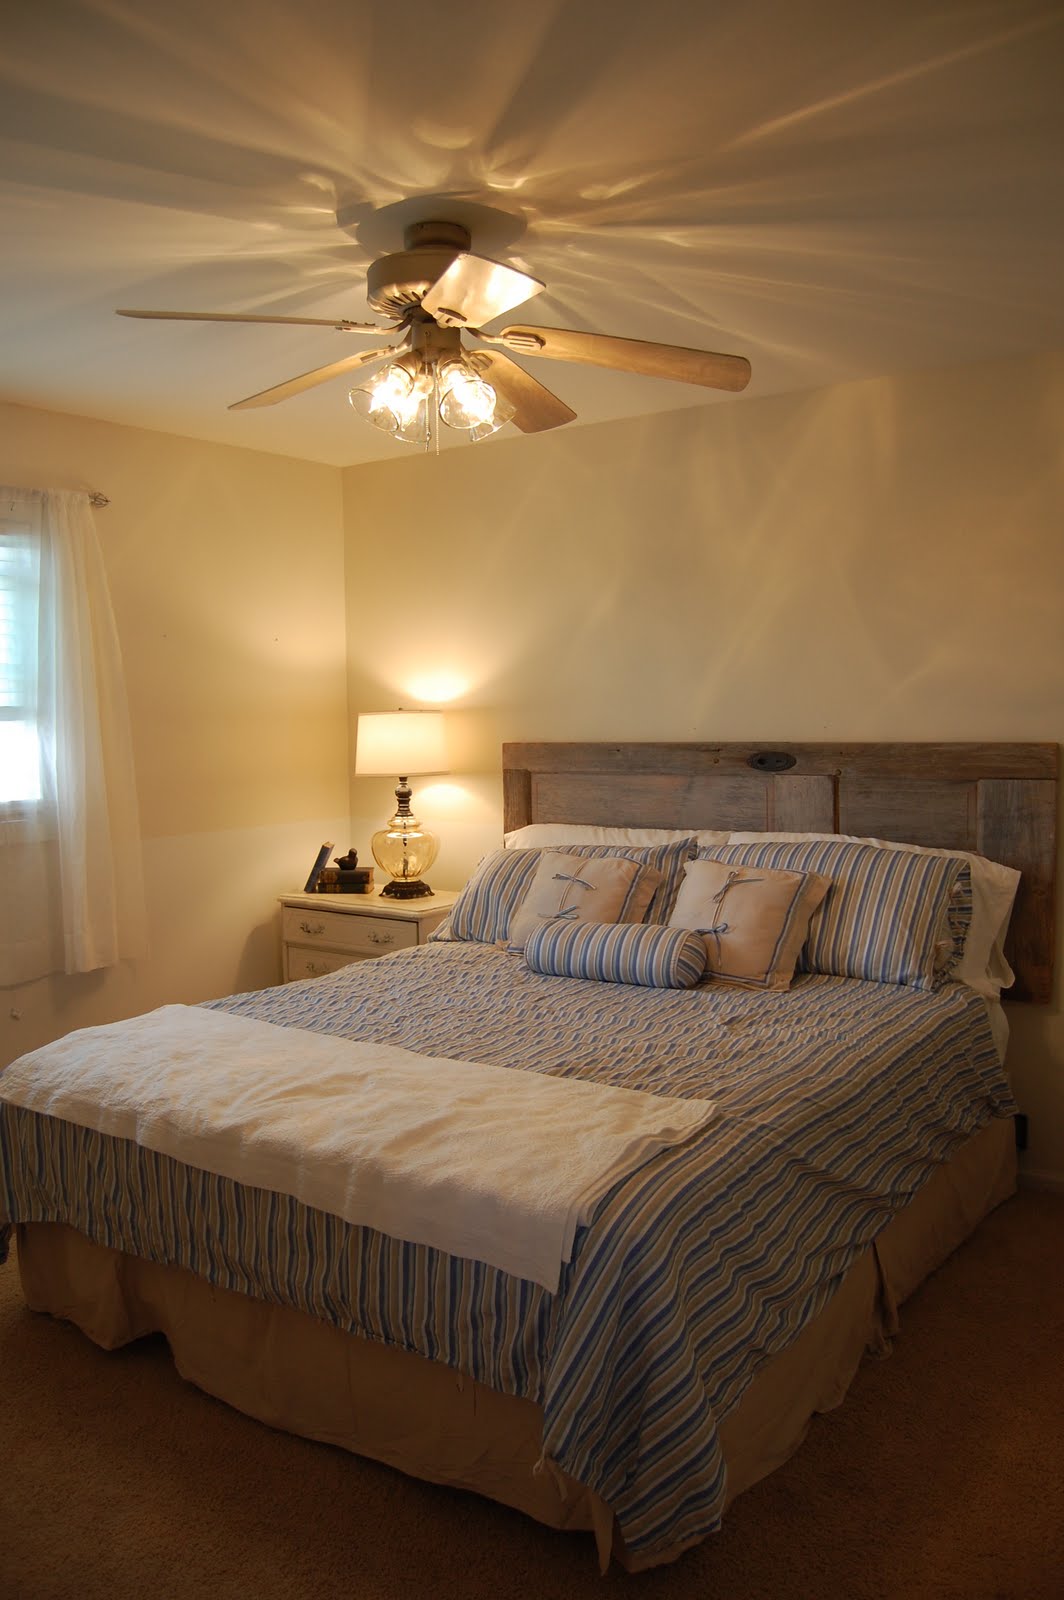
Here's where we're at today:


I painted the room in two different colors, planning for an eventual chair rail and wainscoting. I went with lighter colors because this room does not get a lot of natural light except first thing in the morning. Painting the trim white went a long way toward remedying the brightness issue.

I bought this lamp at Goodwill for a couple bucks.


It was dirty and dingy and had a tube in the center that had a little light in it so the base would glow when lit. The tube was ugly in there but I could see the potential of the glass lamp base. I wasn't sure about the frosted roses on the glass at first, but after I took out the tube and washed the glass, I decided they were actually pretty. While I had the entire lamp disassembled, I spray painted all the metal parts with oil rubbed bronze. If the glass wasn't a bit amber, I was going to paint the metal in brushed nickel. But it was amber, so I went with the ORB. I rewired the lamp and reassembled it and fell in love! I think it's gorgeous. I am still looking for the perfect shade for the lamp, but this one will do for now.


The headboard is an old door I bought at a Lands End Prop Sale. I love this door and I've used it in a few different places in my home. I knew that someday I would probably want to use it somewhere else again, so I did nothing to the structure or patina of the door. I just anchored it to the wall.

The bedding I ordered from ebay. When it arrived, the colors were not as faded as they looked in the picture online, but they seem to have faded a bit with a couple washings. I had considered washing them in some bleach when they first arrived, but decided against it. I'm glad I did.


So at this point, I'm trying to decide on artwork for the walls. I took a series of photos at the State Capitol recently, and I'm thinking about enlarging, printing, and framing those to use in the room. Hopefully soon I'll have the finishing details in the room and I'll be able to share it with you in its entirety.

I'm linking up to:
http://thriftydecorchick.blogspot.com/2011/09/september-before-and-after-new-light.html


You Are Talking Too Much!

Saturday, August 20, 2011

Fresh Raspberry Crumb Cake


Hello, friends. In all the summertime craziness, I just haven't found time to blog. I've been filing things away in the back of mind to pull back out and post about. Because I'm a big fan of raspberries and eating, this post is the first to be pulled from the far reaches of my brain. Plus, I figure it's about time for fall raspberries, so maybe someone can use this now. I don't remember the source for this recipe. I'm pretty sure I found it on the internet somewhere, most likely Allrecipes, because that's my favorite recipe finder.

Fresh Raspberry Crumb Cake

Cake:
2 C all-purpose flour
2 tsp. baking powder
1/2 tsp salt
1/4 C butter, softened
3/4 C sugar
1 large egg
1/2 C milk
2 C fresh raspberries

Topping:
1/2 C light brown sugar
3 tablespoons Flour
2 tsp. cinnamon
3 Tbsp butter


Preheat oven to 375'

Combine the flour, baking powder, salt. Set aside.

Cream the butter and sugar, beat in the egg. Add the flour mixture and milk. Stir only until moistened. Fold in the berries and turn into a greased and floured 9" springform pan.

Stir together the brown sugar, flour, and cinnamon and cut in the butter with a pastry blender until fine.

Sprinkle the streusel topping on the cake and bake for 45-50 minutes. Loosen the edges of the pan and remove the springform. Serve warm.


This is so very yummy. I promise you won't be disappointed!